
I find that as the years go by, everyone is so busy and consumed by work and other commitments, that it’s hard to find the time to go to appointments, let alone an appointment that is not “needed”. For example: teeth whitening. It isn’t covered by benefits, or something everyone does – it’s more of a cosmetic procedure. Because of that, I notice more and more people are grabbing at-home teeth whitening kits to do at the end of their day before bed, opposed to going to a dentist to get the same job done (that, OR they never bother to do it at all because they “don’t have the time”).
Smile Brilliant is a company based out of USA that creates teeth impression trays for you to whiten your teeth at home. It’s a fun process that you get to be involved with because you get to make the teeth impressions yourself! I actually went to a dentist a couple of months ago for a mouth guard (for clenching during the night), and I’ve noticed that the steps to make these teeth whitening trays are identical. I knew Josh (my fiancé) always wanted to get his teeth whitened, and I knew this was the best opportunity to get him to do it, especially with our wedding coming up next year.
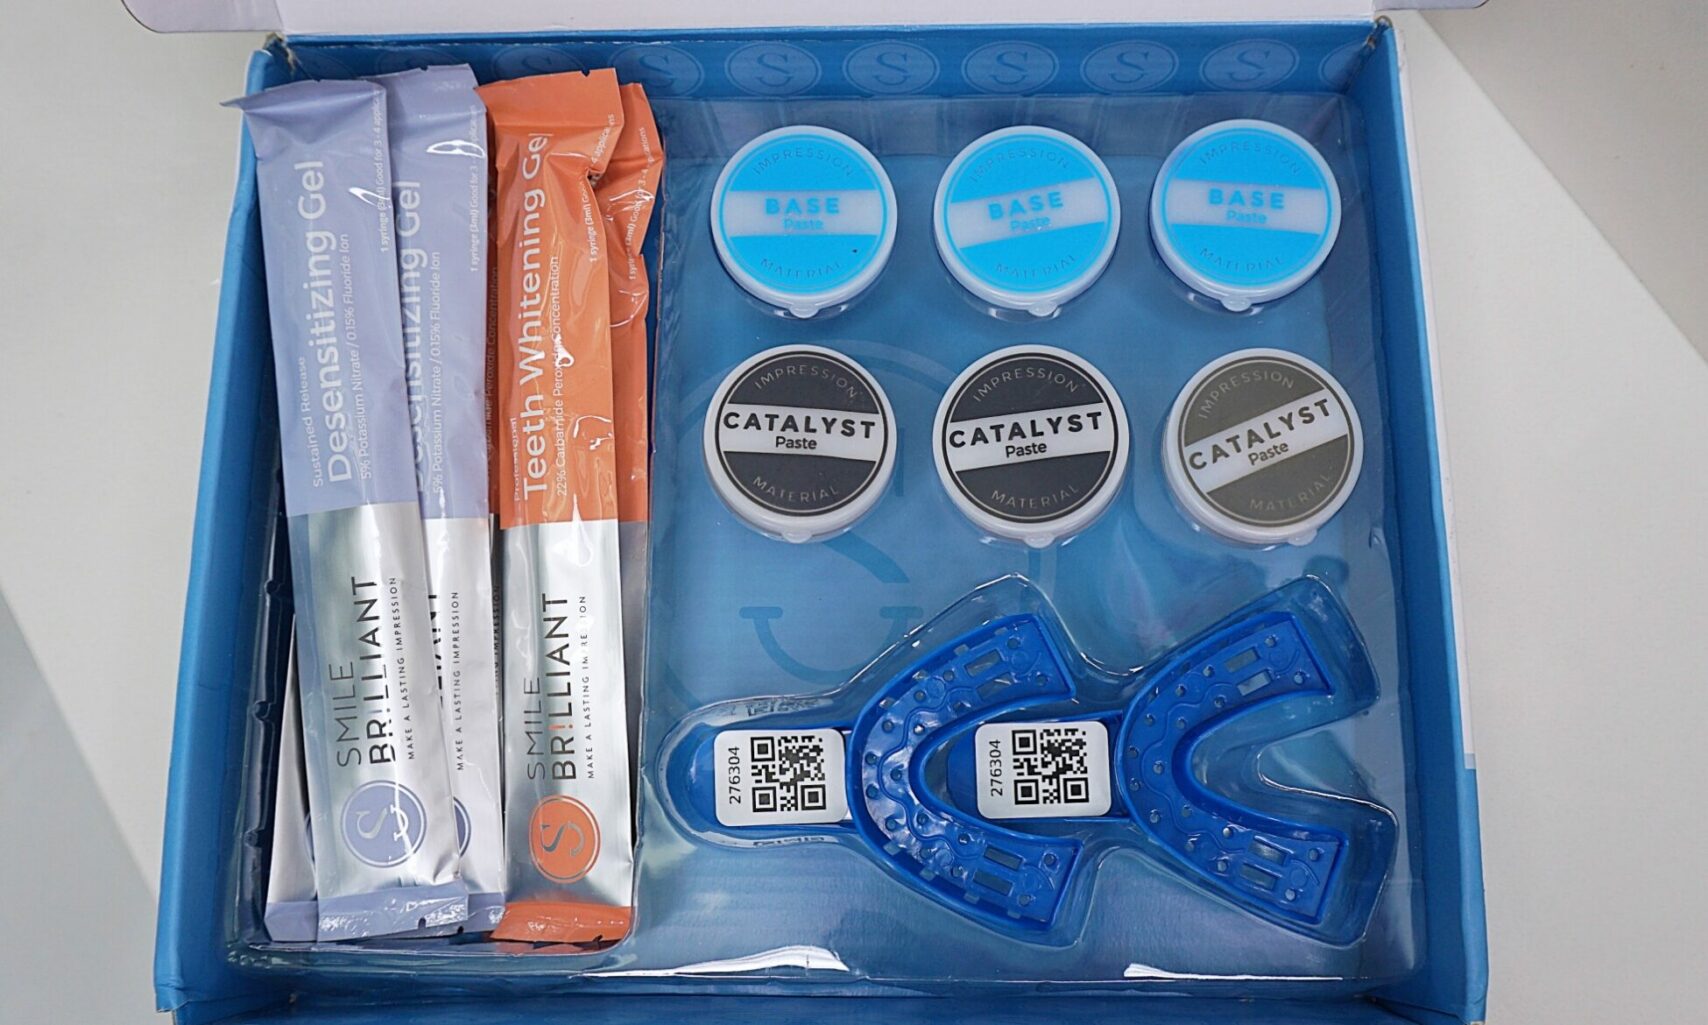
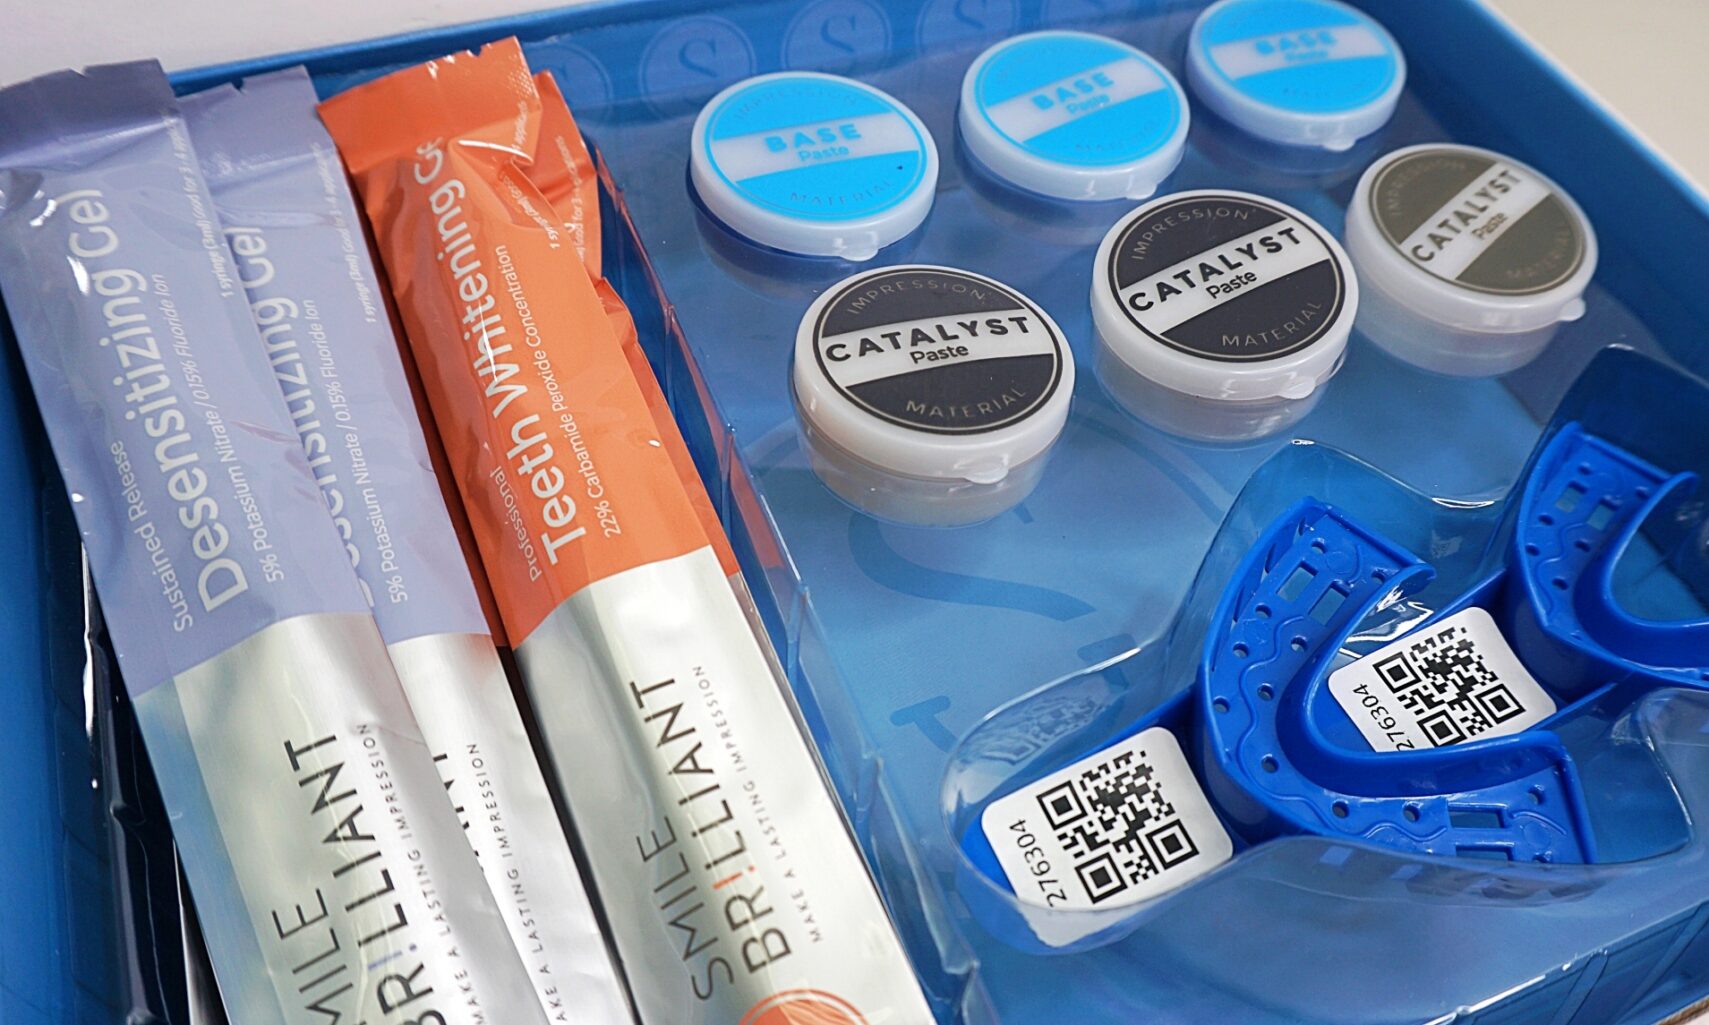
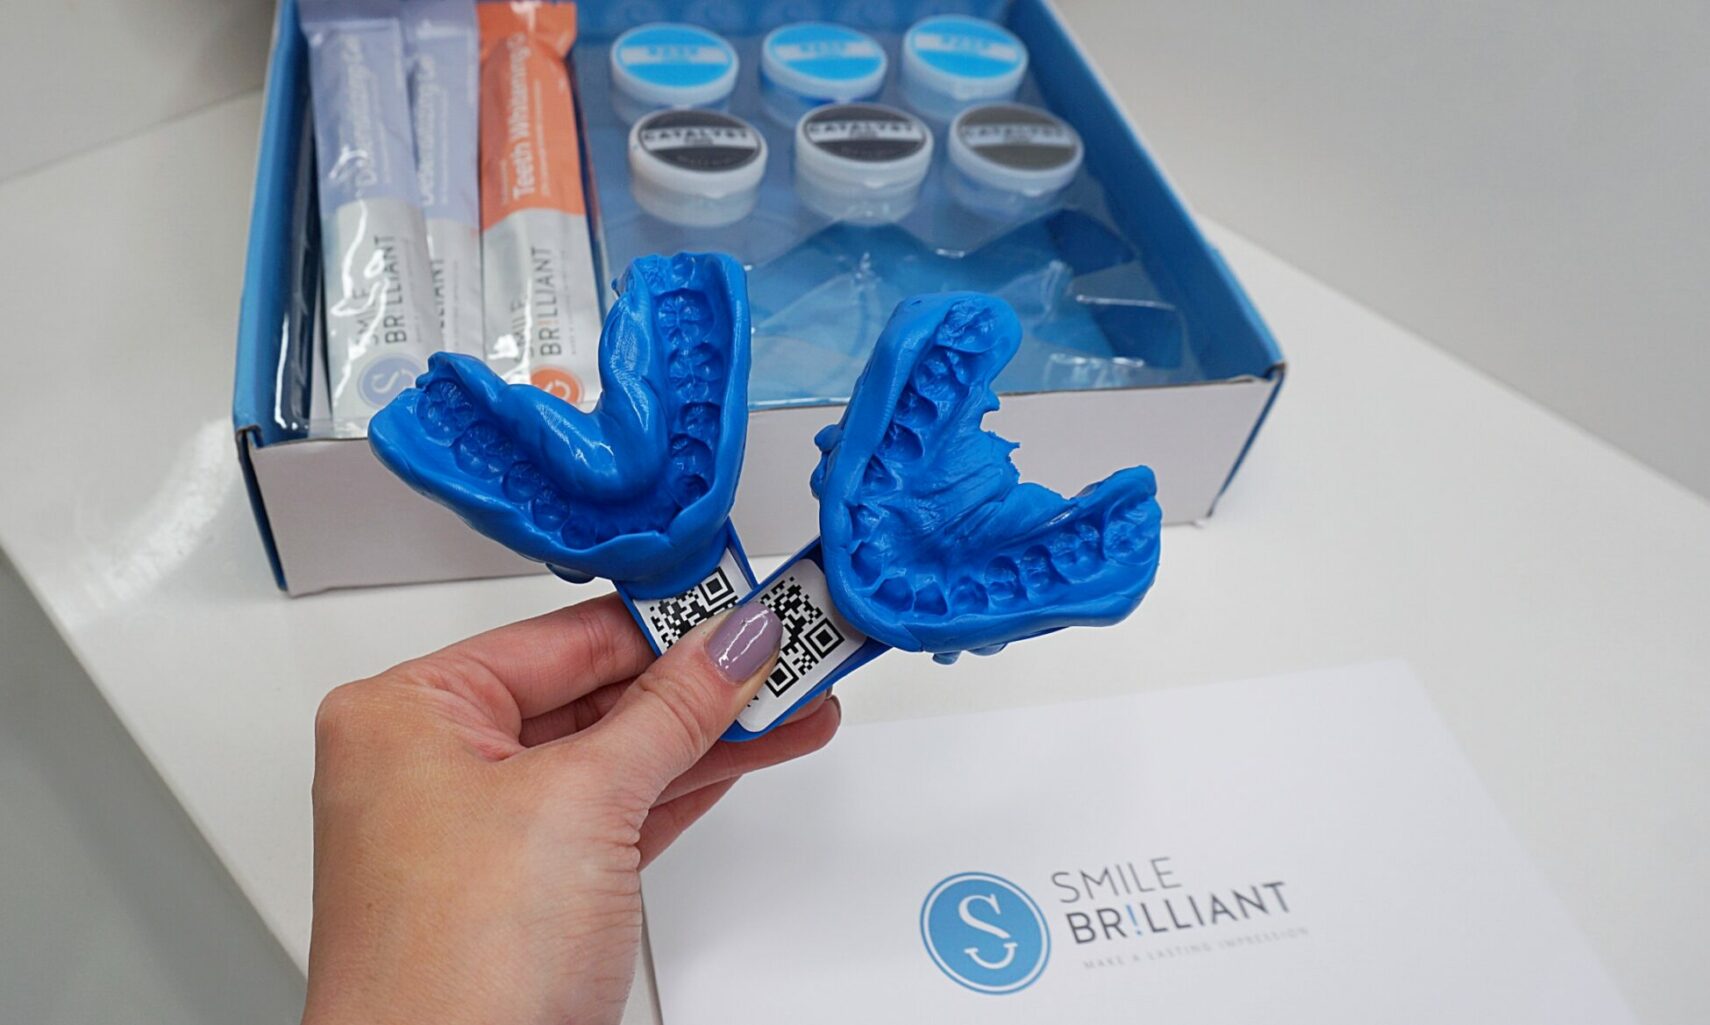
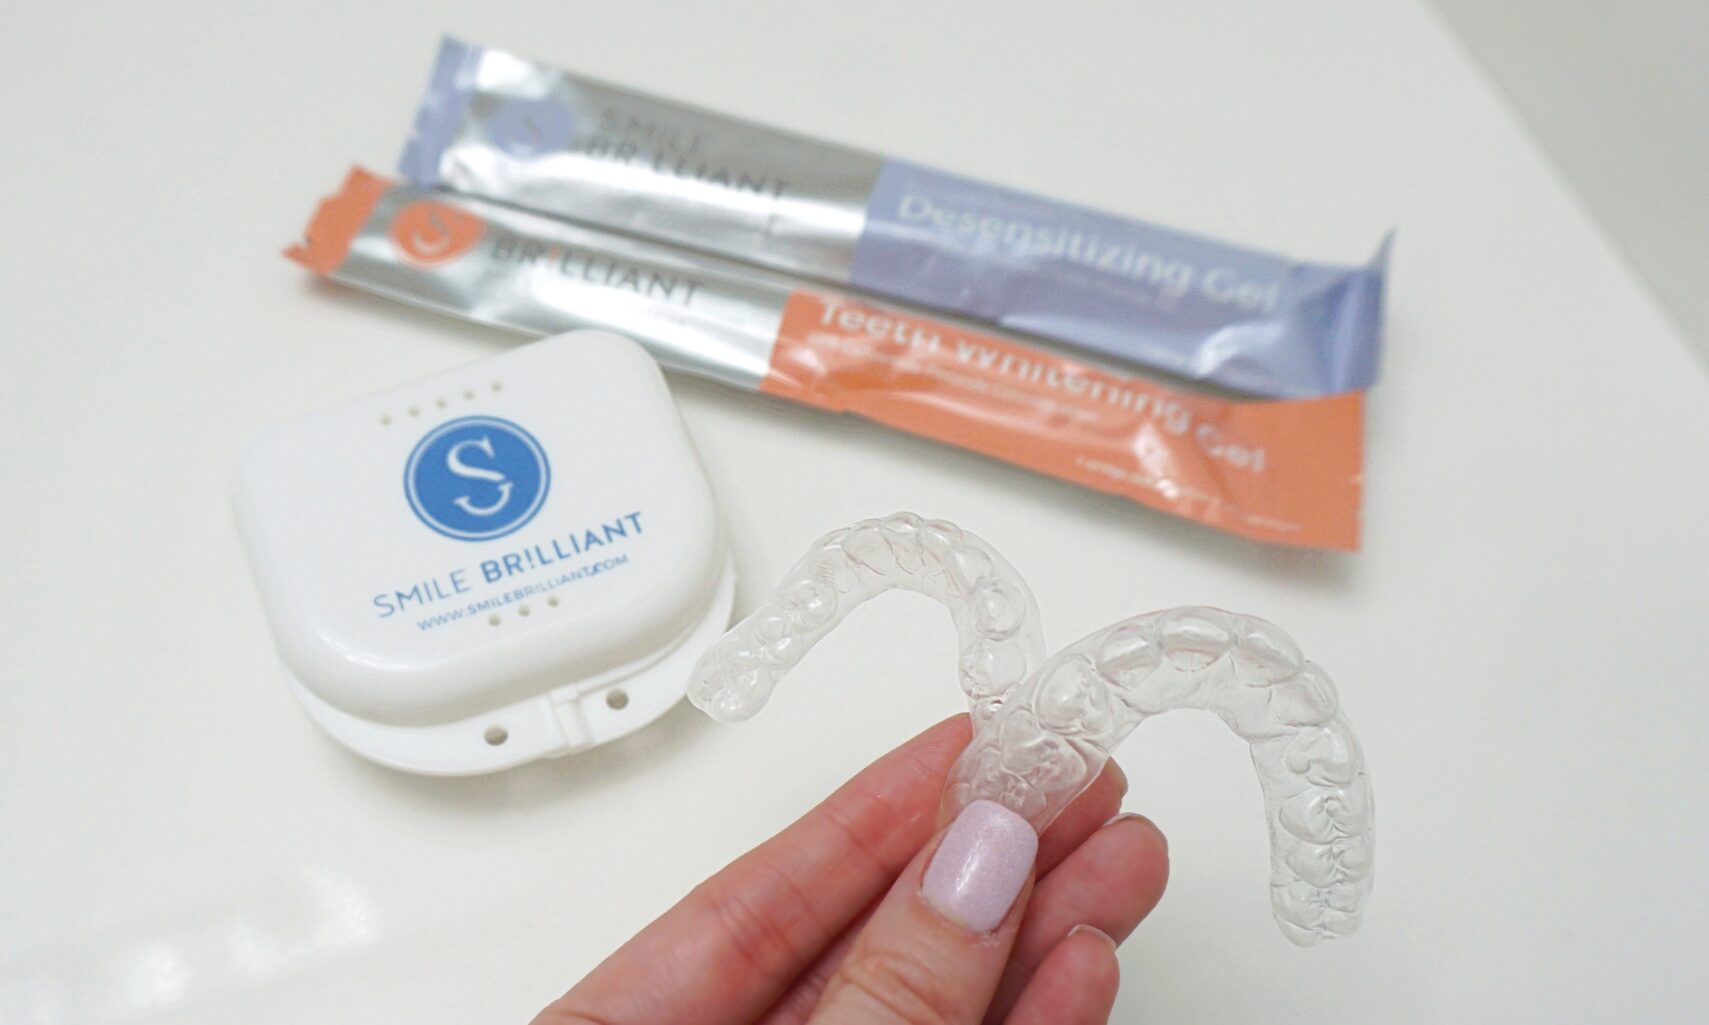
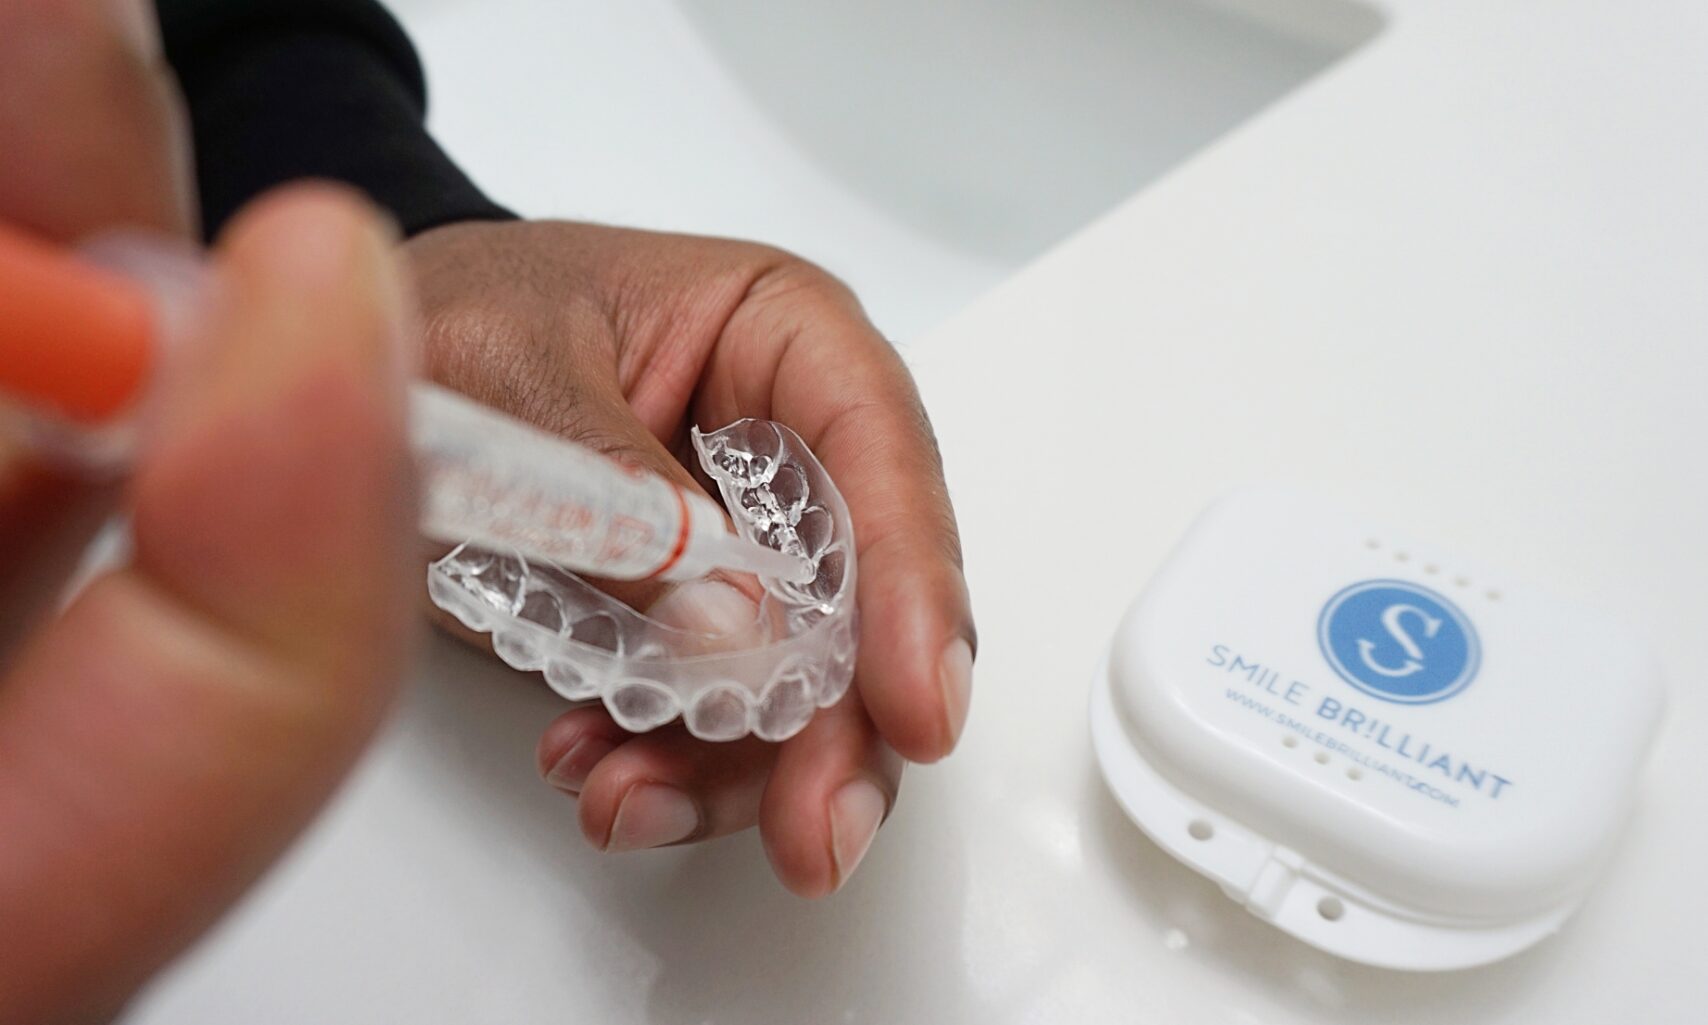
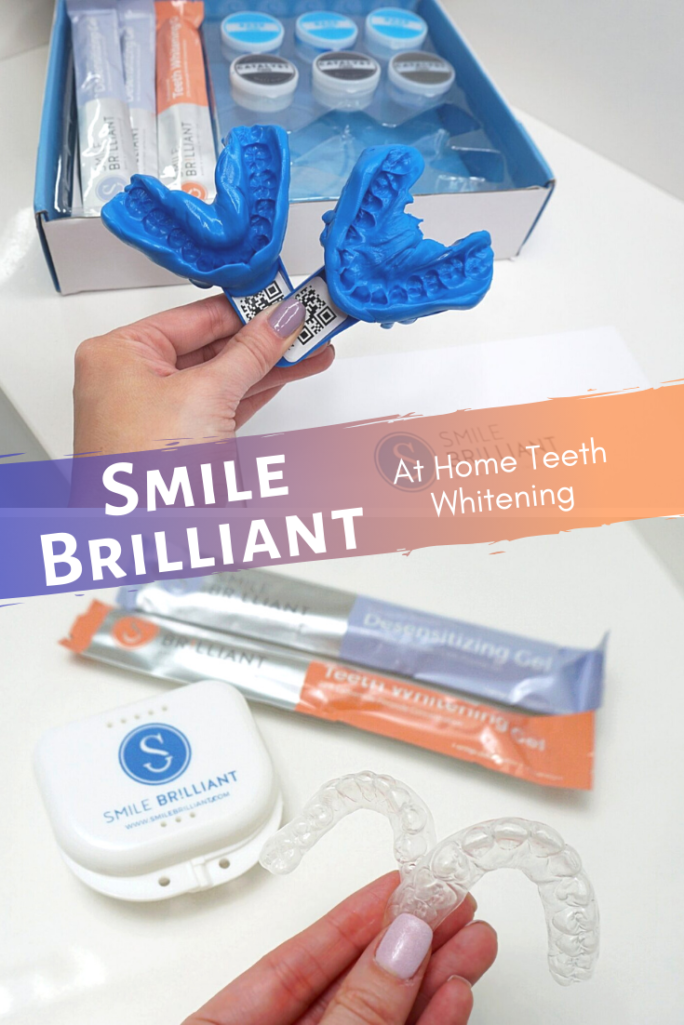
Smile Brilliant has 2 options for the teeth whitening kits – non-sensitive and sensitive. I ordered the sensitive kit because Josh has never done this before, and I know he’s complained about tooth sensitivity when eating certain foods. The sensitive kit includes half desensitizing applications and half whitening applications, while the non-sensitive kit only includes whitening applications. Each kit includes 2 impression trays, 3 sets of impression materials (catalyst paste and base paste), the whitening application (and desensitizing gel if you chose the sensitive kit), as well as either 2-way or 3-way postage.
The first step of the whole process is to get one set of impression materials (both the catalyst paste and base paste) and mix them together in your hands until they’re completely mixed together. It was easy to know when they were completely mixed together because one is white and one is blue. After mixing the two pastes, we placed it into one of the impression trays. Each of the paste mixtures will fill one tray. 3 sets of pastes are included in case you mess up on the first try (which we did!). Place the impression tray inside your mouth and firmly press it against your top or bottom teeth. This step is the most important because there are a lot of ways you can do it that can result in a negative impression. Josh’s first try was not successful – he pressed it down too hard on his bottom teeth and it caused the mixing paste to be pushed up and it resulted in a hole in the impression. Thankfully Smile Brilliant includes 3 sets of the pastes, so we used that first one as our practice.
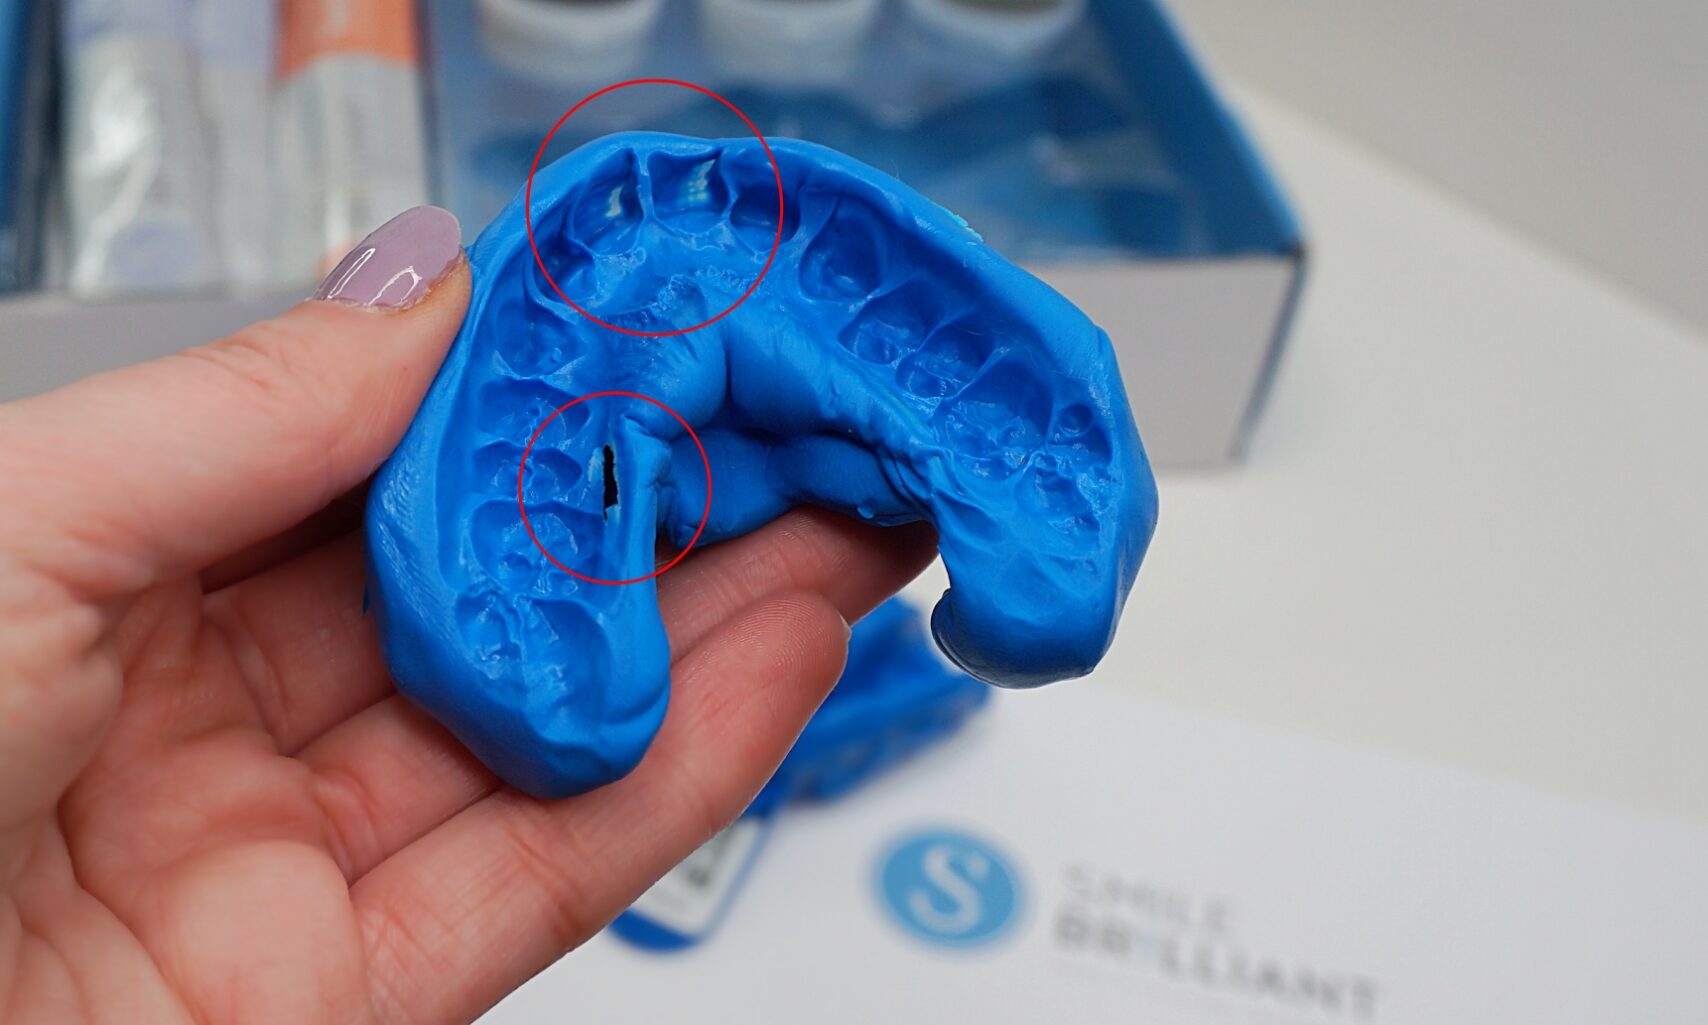
Our first try doing the impression came out bad. Notice how the teeth dragged too forward in the front, and in the back there was a tear
The teeth whitening impressions are for Josh, but I wanted to be involved as much as possible because I found it so interesting (& I wanted to blog about it and take pictures). Josh mixed up another set of the pastes and did the next two impressions perfectly. We looked at each impression compared to the DO’s/DON’T list provided by Smile Brilliant and deemed both sets were acceptable. Thankfully, otherwise I would’ve had to order another set of the pastes. We let each impression fully dry overnight before mailing it back to Smile Brilliant. Shipping was included in the order, but to have it returned on our end, we had to pay $15 CDN for shipping. I believe if you’re in America, this shipping is covered.
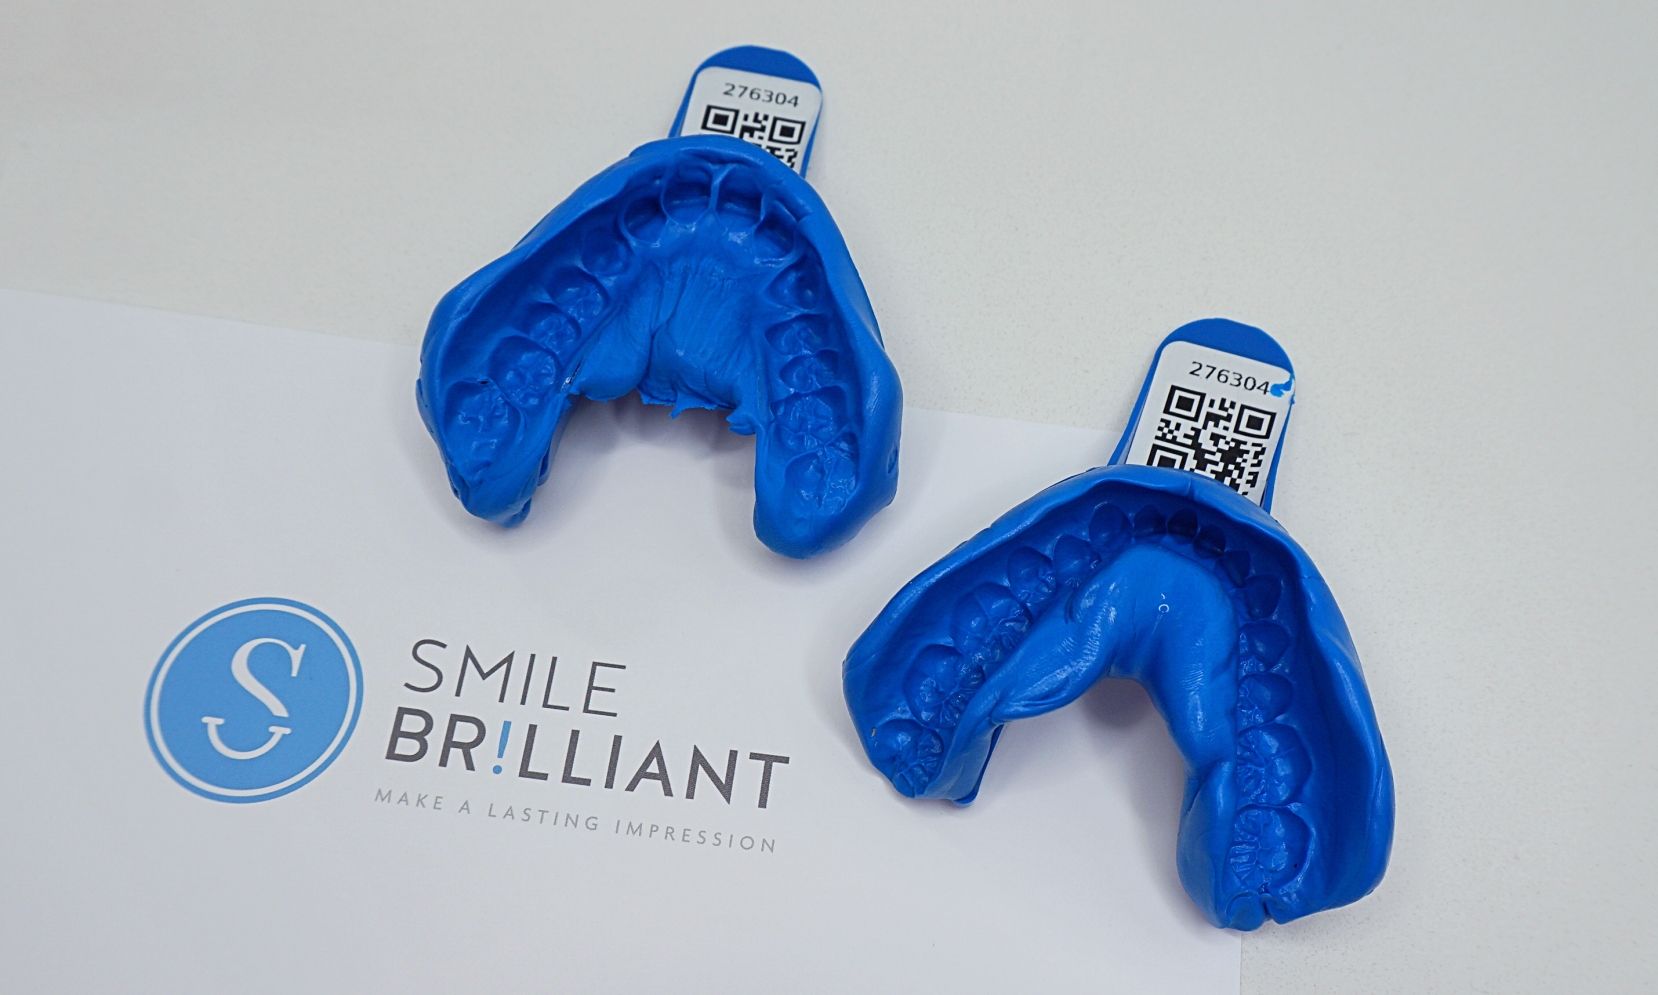
The final teeth impressions!
After about 2 weeks, we received the impressions back! With such a great turnaround time, I was really impressed. I received an e-mail as soon as Smile Brilliant received the impressions in the mail, and another one once they shipped it back. Once the impressions were delivered, I was actually surprised at how thin and flexible they were. As I mentioned earlier, I personally wear a mouth guard overnight, and the thickness of that mouth guard over these teeth whitening trays are very different. I almost feel like the teeth whitening trays are too thin and fragile, but Josh has used them a number of times so far and hasn’t had any issues with them. No tearing, change of shape, or change of colour.
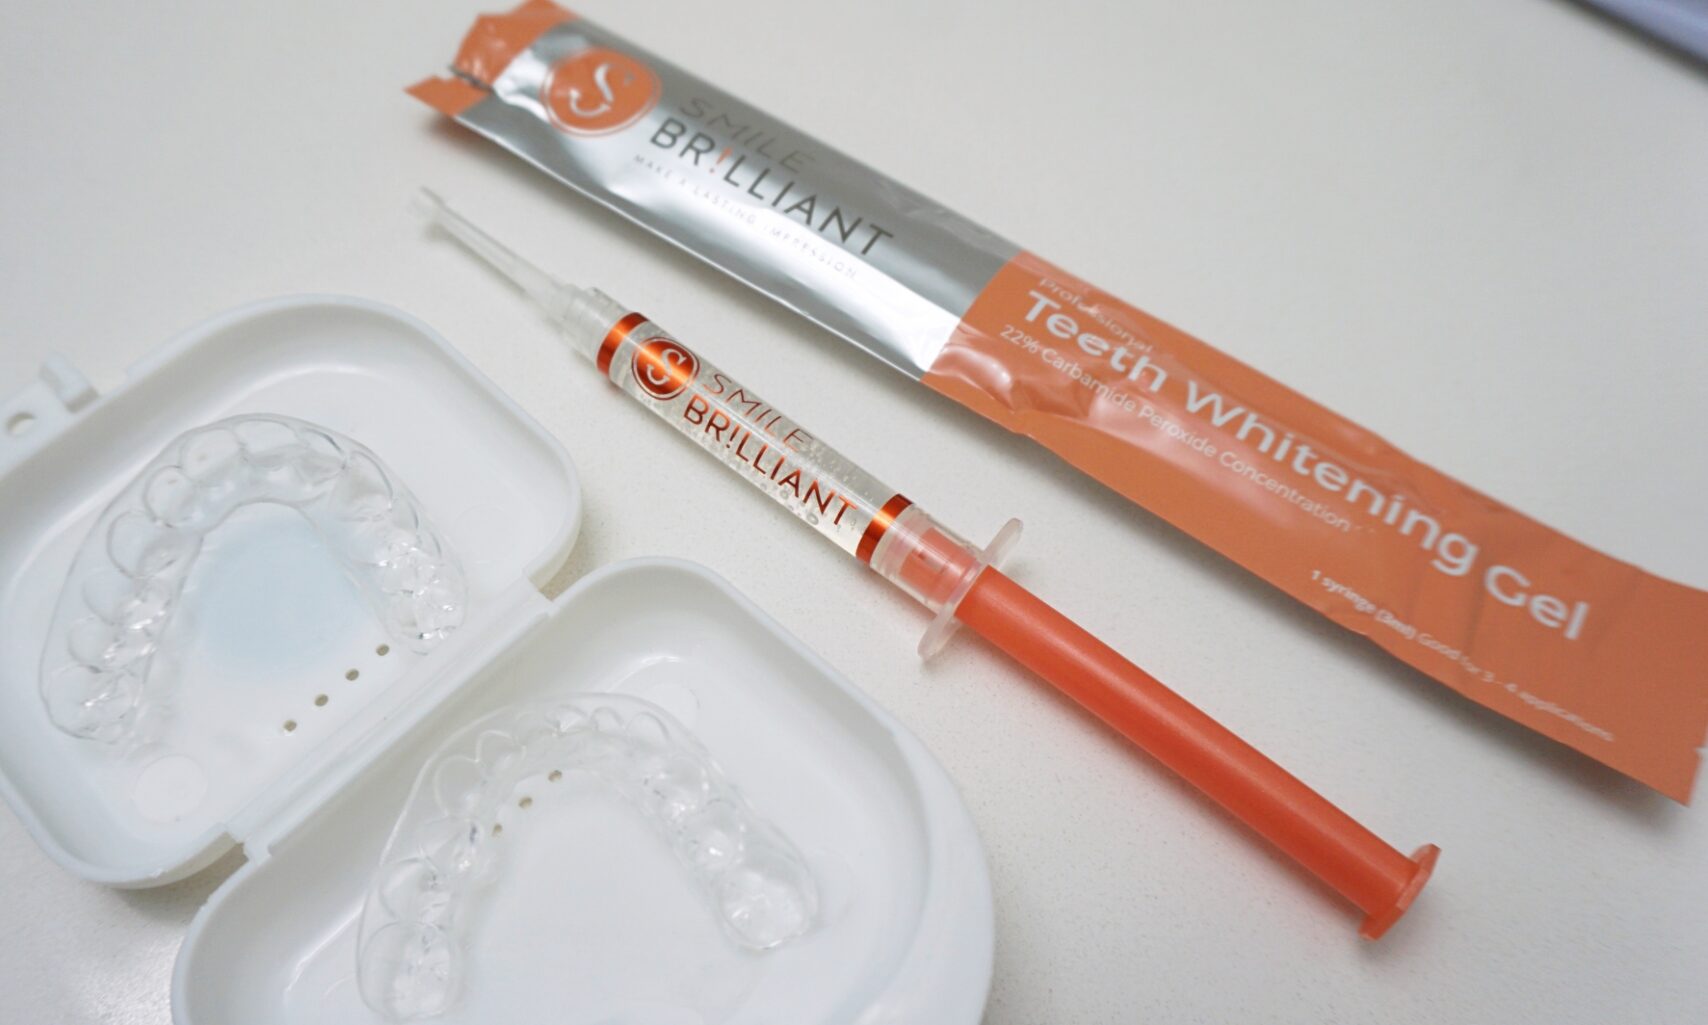
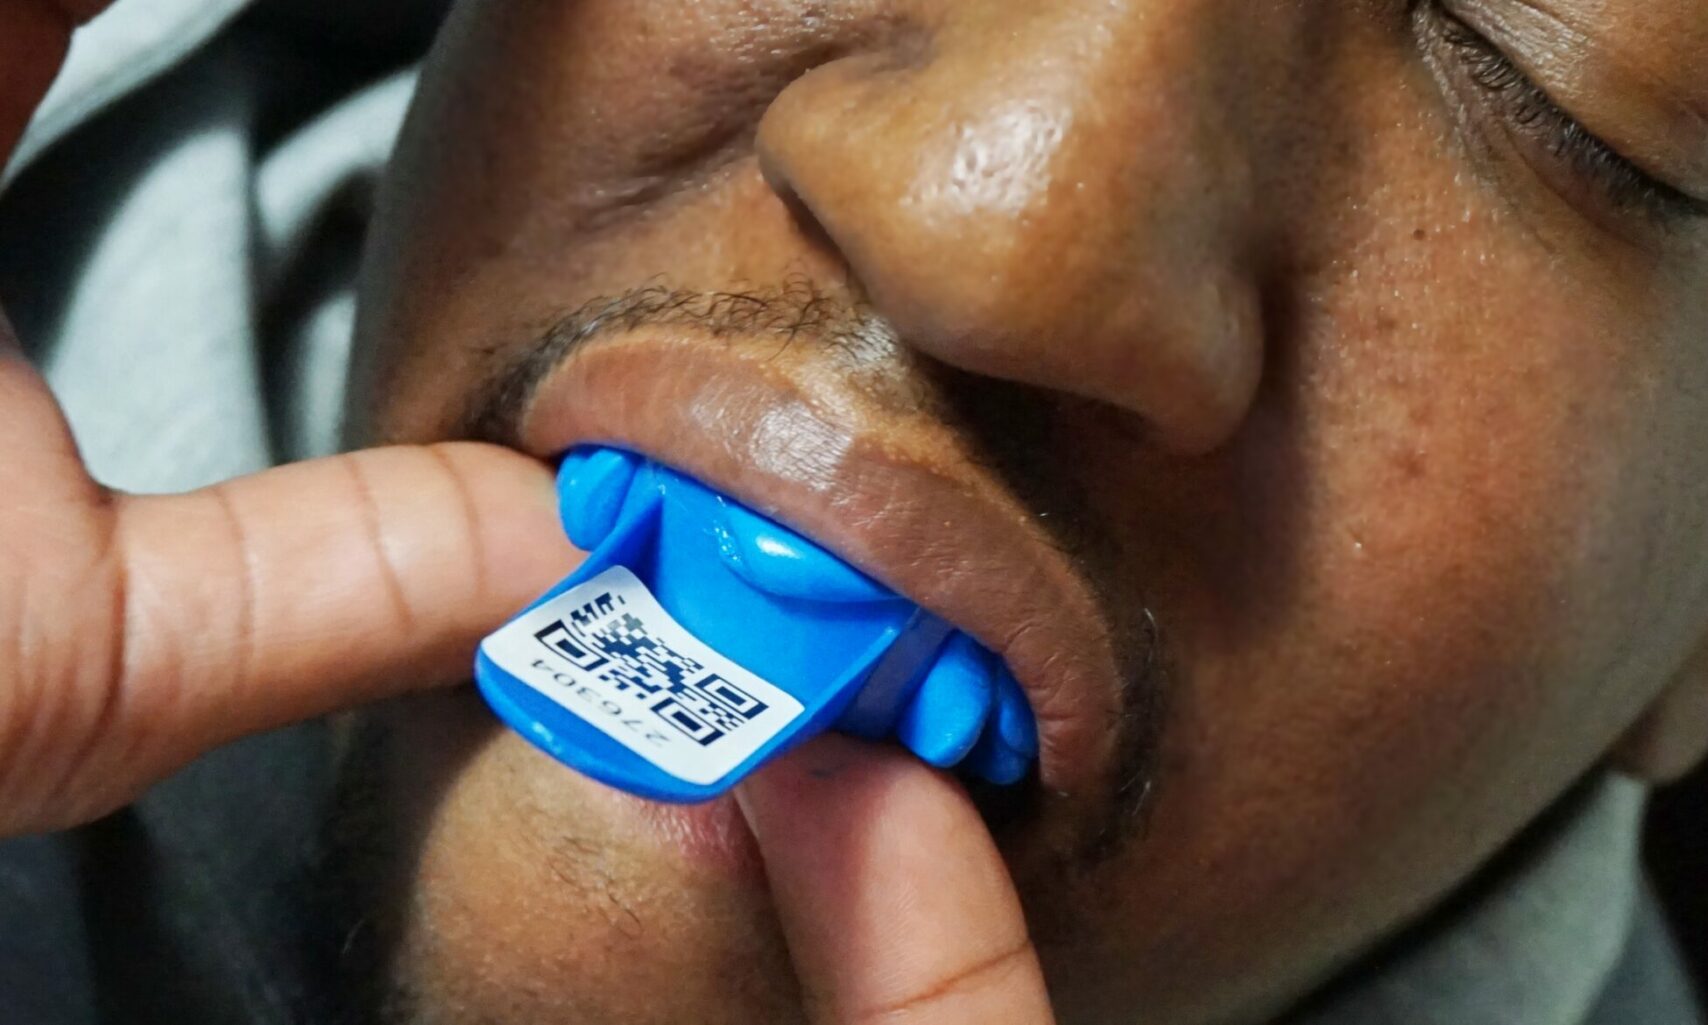
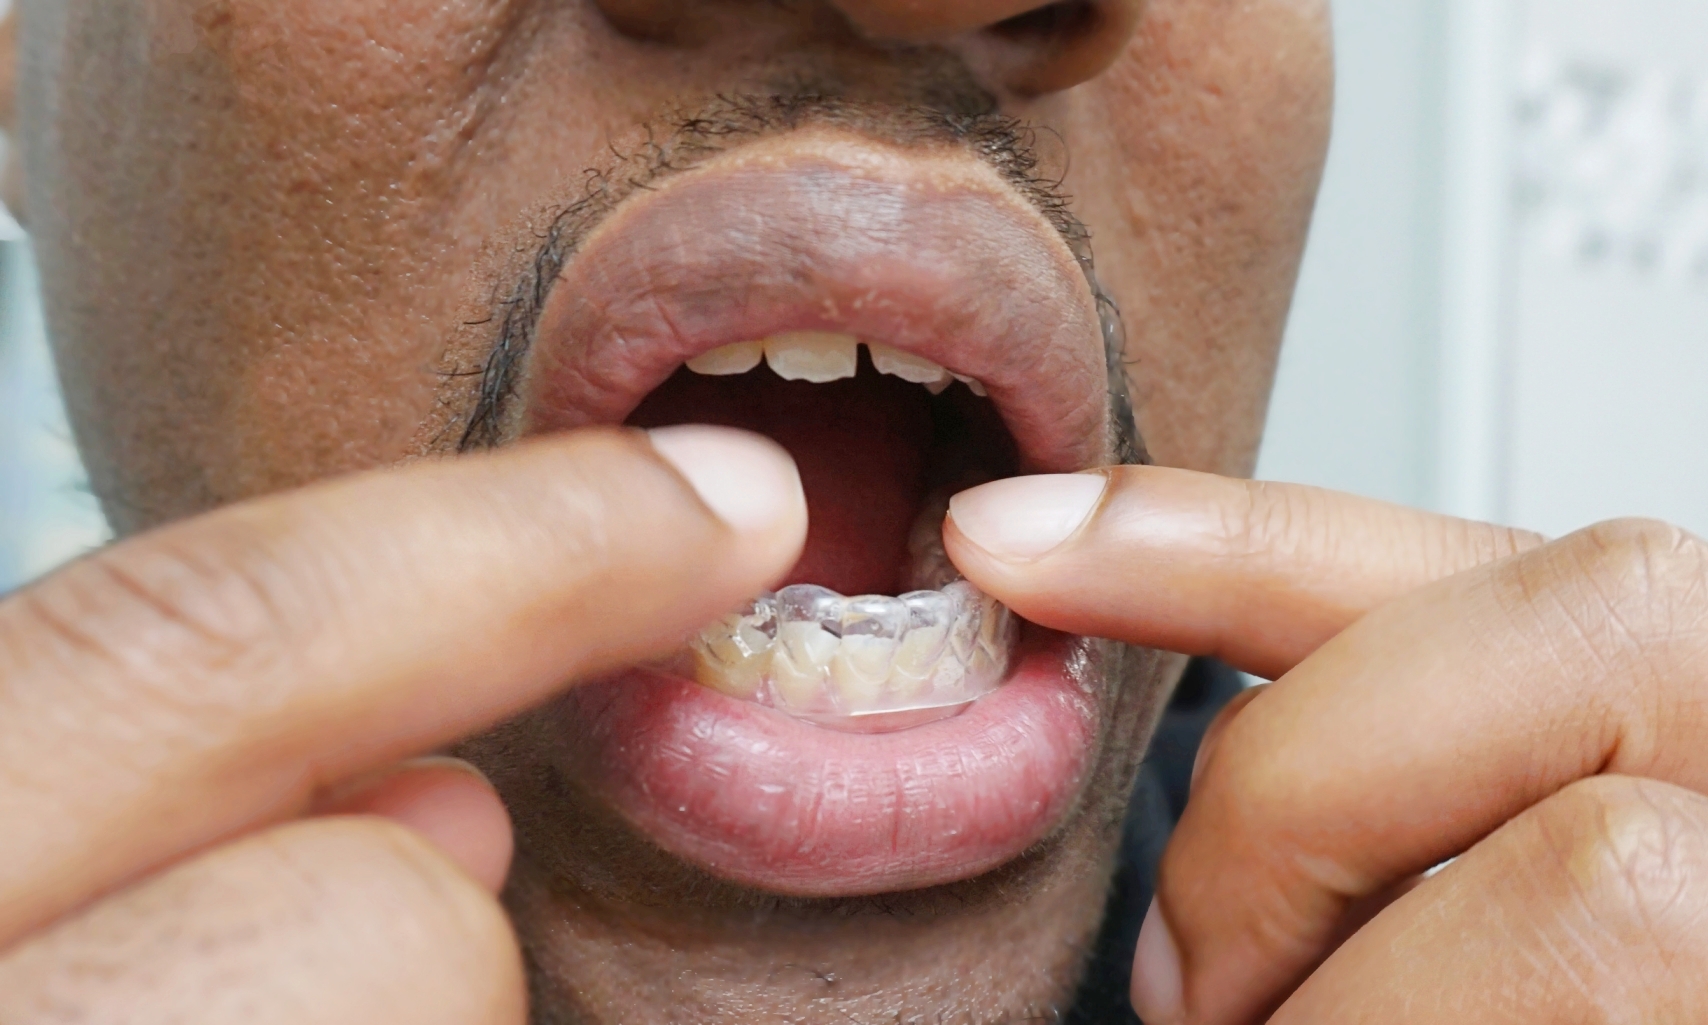
For the first application, I was keen on watching (& basically dictating what to do after reading all the instructions lol). Josh brushed his teeth with just water (no toothpaste!) and applied 1/3 of the whitening gel to each tray. Since he’s never done this before, he could only wear them for 30 minutes for the first time. He mentioned his teeth hurt and he couldn’t last longer, but as Smile Brilliant noted, this was normal and exactly what the desensitizing gel was for. We washed the whitening trays with water, then applied 1/3 of the desensitizing gel into them. Josh wore this for 10 minutes before tapping out. Not because of sensitivity, but I think the whole process was a bit long for him – especially for it being his first time ever doing something like this.
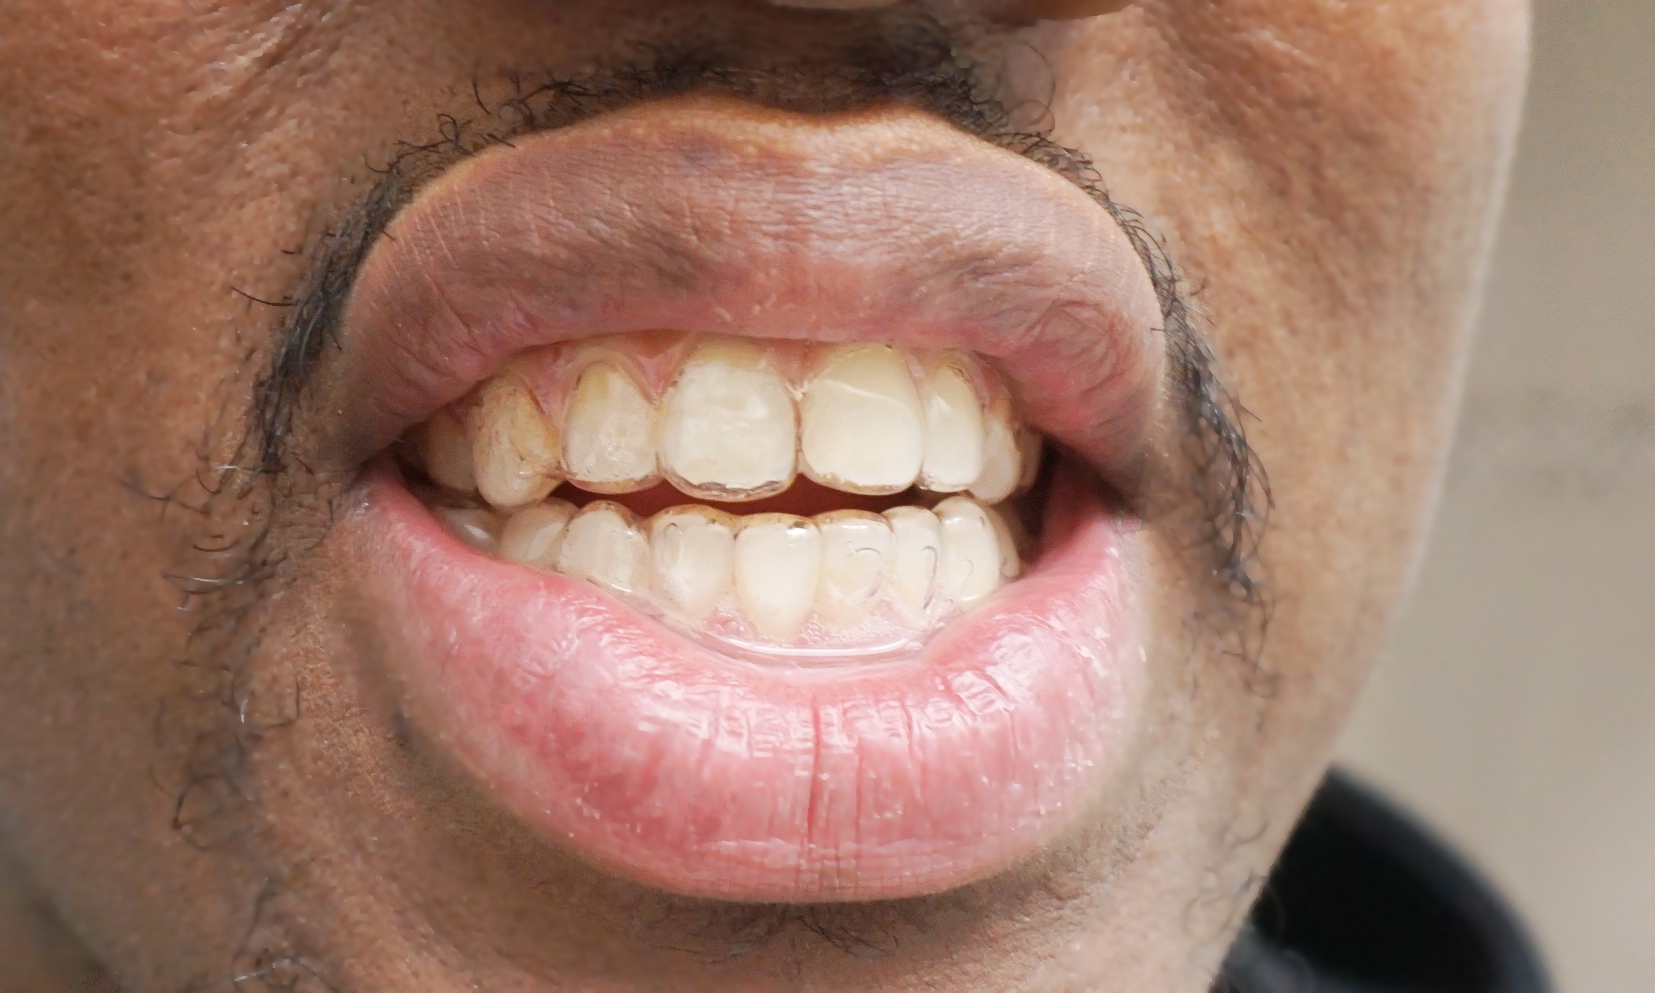
After a couple of sessions, Josh mentioned that it wasn’t as sensitive as the first application, and the desensitizing gel was well worth it to use. However, he did say that every time he used the whitening gel, his teeth did hurt during the application and after (even with the use of the desensitizing gel). I know this is normal, but for someone who never does any “beauty enhancements” to themselves, I think this was a shock to Josh. In terms of whitening (the whole reason for using this product), Josh says he doesn’t notice a huge difference, but I actually do notice a change – probably because I don’t see him every day. The key thing to remember with this type of product, is consistency is KEY. Doing it once or twice a week, won’t give you the results you’re looking for. I believe if Josh used it at least every second day (instead of 3 times a week), his results would have shown much faster (a girl can only nag so much, but I think with his teeth sensitivity, he didn’t want to do it every day or every second day).
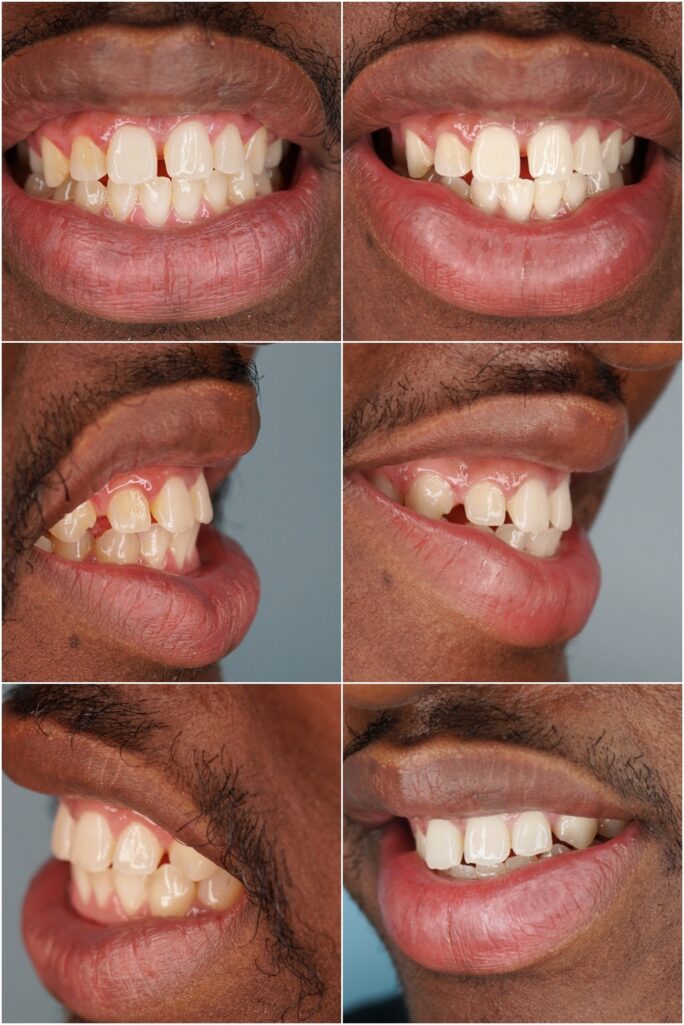
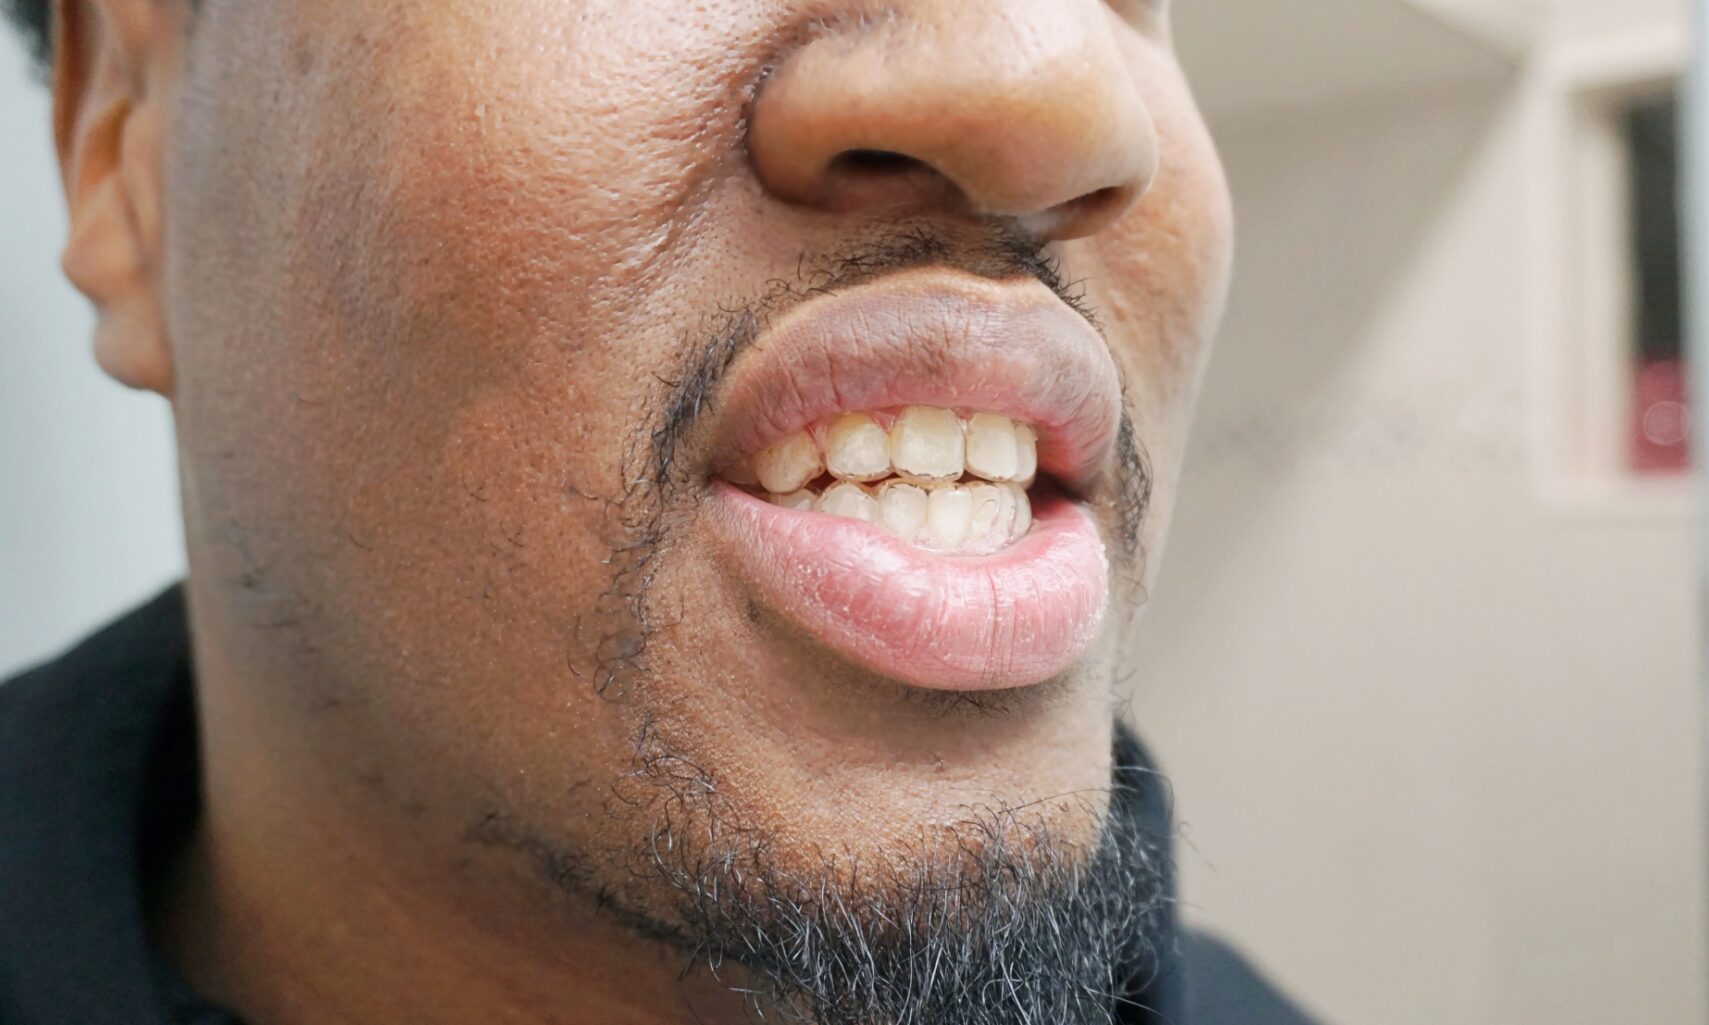
Before (left) & After (right)
As I’ve done teeth whitening at a clinic, I can certainly say Smile Brilliant’s method of an at-home experience is way more convenient and personalized. I would say going to a clinic would be a faster method to getting your teeth whitened, but to do it at home while you’re winding down at the end of the day can NOT be topped. The whitening trays are specifically made for YOU, so you know the whitening gel will cover every spot. I would definitely recommend this service, as it’s much more affordable than going to a clinic, and you can actually see the results for yourself! Depending on how many whitening applications you want, the price for Smile Brilliant’s teeth whitening kits range from $149-169 USD (plus applicable shipping if required outside of USA).
Use code “spilledpolish15” for 15% OFF!!
https://www.smilebrilliant.com
SMILE BRILLIANT GIVEAWAY
Want to win your own Smile Brilliant kit?
Enter my giveaway HERE.
Have you done teeth whitening before, or used Smile Brilliant?
I received Smile Brilliant's Teeth Whitening Tray kit in exchange for my honest review.